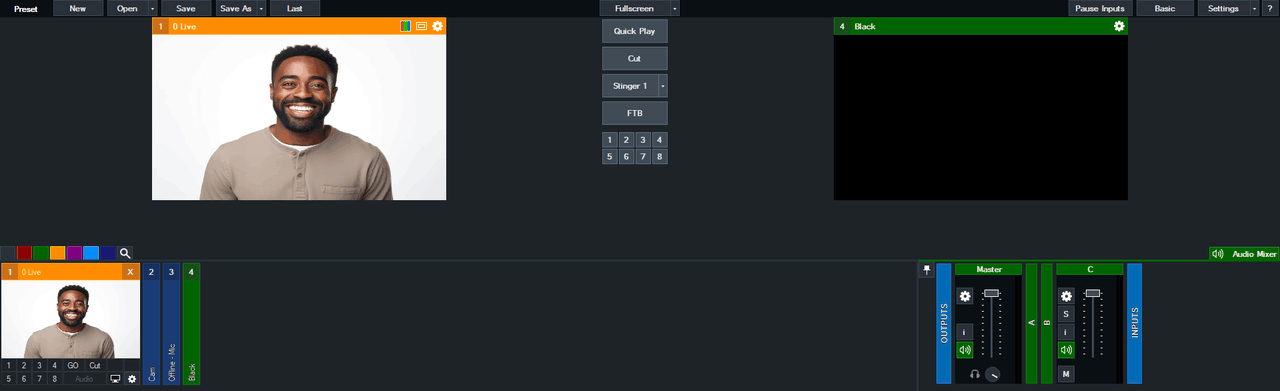
The generated preset starts from a base.vmix file that you make in vMix: your cameras,
microphones, outputs and any other inputs the session always needs. Save it in the content
folder or in its parent folder. The closest one is used, so a parent folder can hold one
base preset for all the sessions inside it and a session can still override it with its
own.
Content folder
  |-- base.vmix        <- used first, when present
  |-- 01 Video.mp4
  |-- 02 Audio.mp3

Parent folder
  |-- base.vmix        <- fallback for child folders
  |-- Session A
      |-- 01 Video.mp4
Camera and microphone inputs
To layer the camera or the microphone over playlist items, title these inputs in the base preset exactly:
Cam  -> camera input
Mic  -> microphone input
The config page warns you when an item uses the camera or the microphone but the base preset has no input with that title.
How layers are stacked
The camera and microphone options are independent, so an item can use either, both or neither. The selected layers are ordered:
Mic, when selectedCam, when selected- any visual overlay, such as an image
When an image has the camera option, the app generates a colour input so the camera and the image can be layered. Audio, video, photo-folder slideshows and PowerPoint slides get the camera input directly as a layer.